Cushion cover
- mademyownco
- Jul 23, 2016
- 4 min read
Updated: Jun 7, 2020
I picked up a little bit of sewing during a brief stint in London. I loved how I went home after every lesson with a little item I made, and they got progressively more challenging / personalized. The first thing I made was this cushion cover with an adorable print.
This wasn’t the first sewing lesson I went for, but first (and pretty short) sewing class I took was eons ago – more than 10 years ago! Yes, this was a class outside of Home Economics. My mum signed me up for dressmaking classes at a neighbourhood dressmaking shop and the lessons were conducted by an auntie who spoke mainly in Mandarin, and was annoyed by my impatience to find out what the next steps were 😛
I’m glad to say that the latest experience in London was a far more enjoyable one! I googled for sewing classes in London, and that was how I came across Sew Over It. They have two lovely shops in London (Clapham and Islington), and I was fortunate enough to have had classes at both locations. With tasty cakes, coffee + tea, easy listening music playing in the background, brightly lit working spaces, and the most helpful teachers, how can anyone not fall in love?
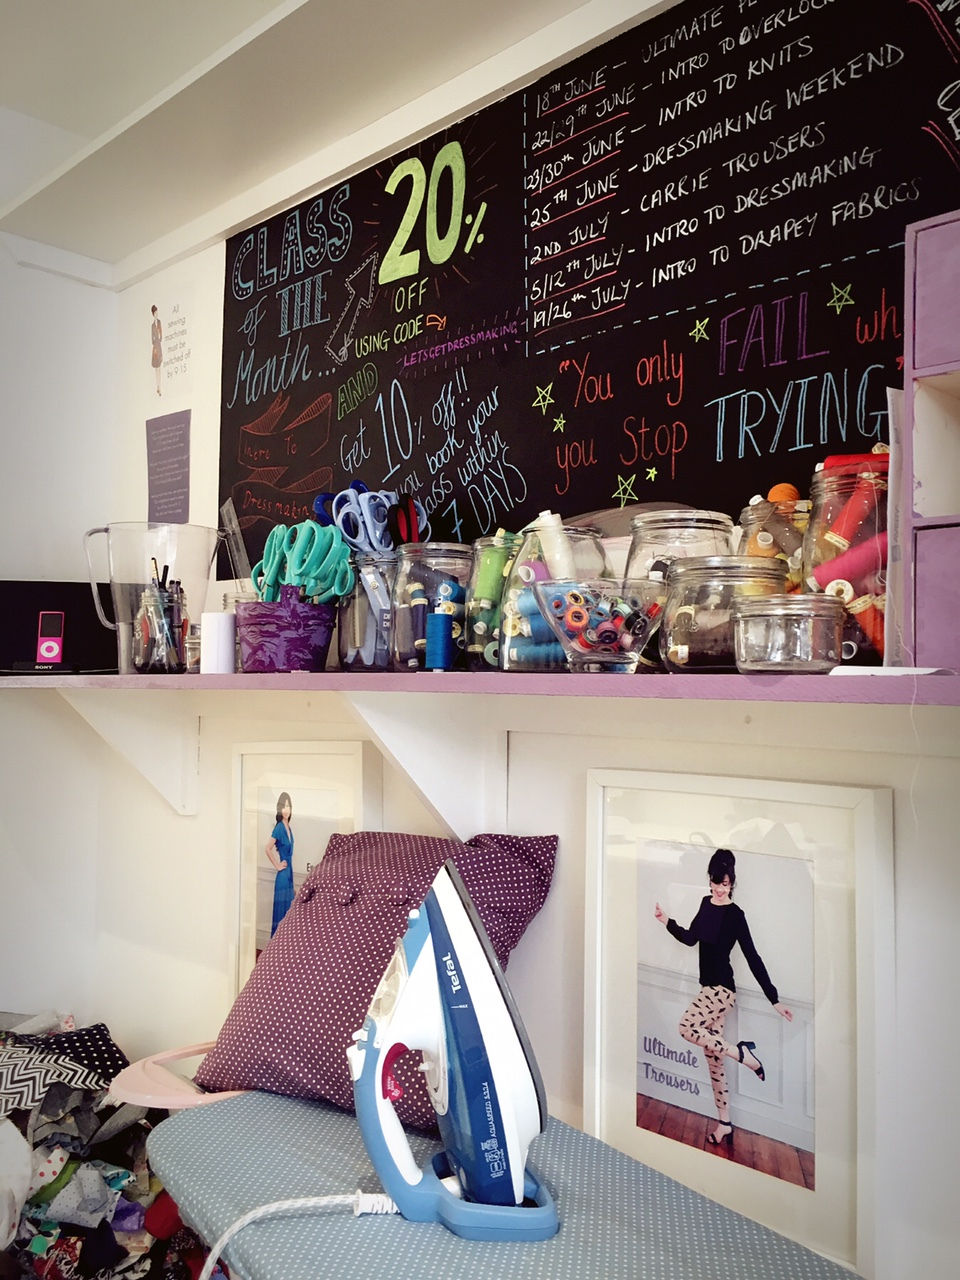
Shelf with sewing tools at the Islington branch (I was trying to take a photo of the discount code for the class of the month :P)

Stairway leading to working space downstairs at Clapham branch

Loads of beautiful fabric on sale on the ground floor of the Clapham branch
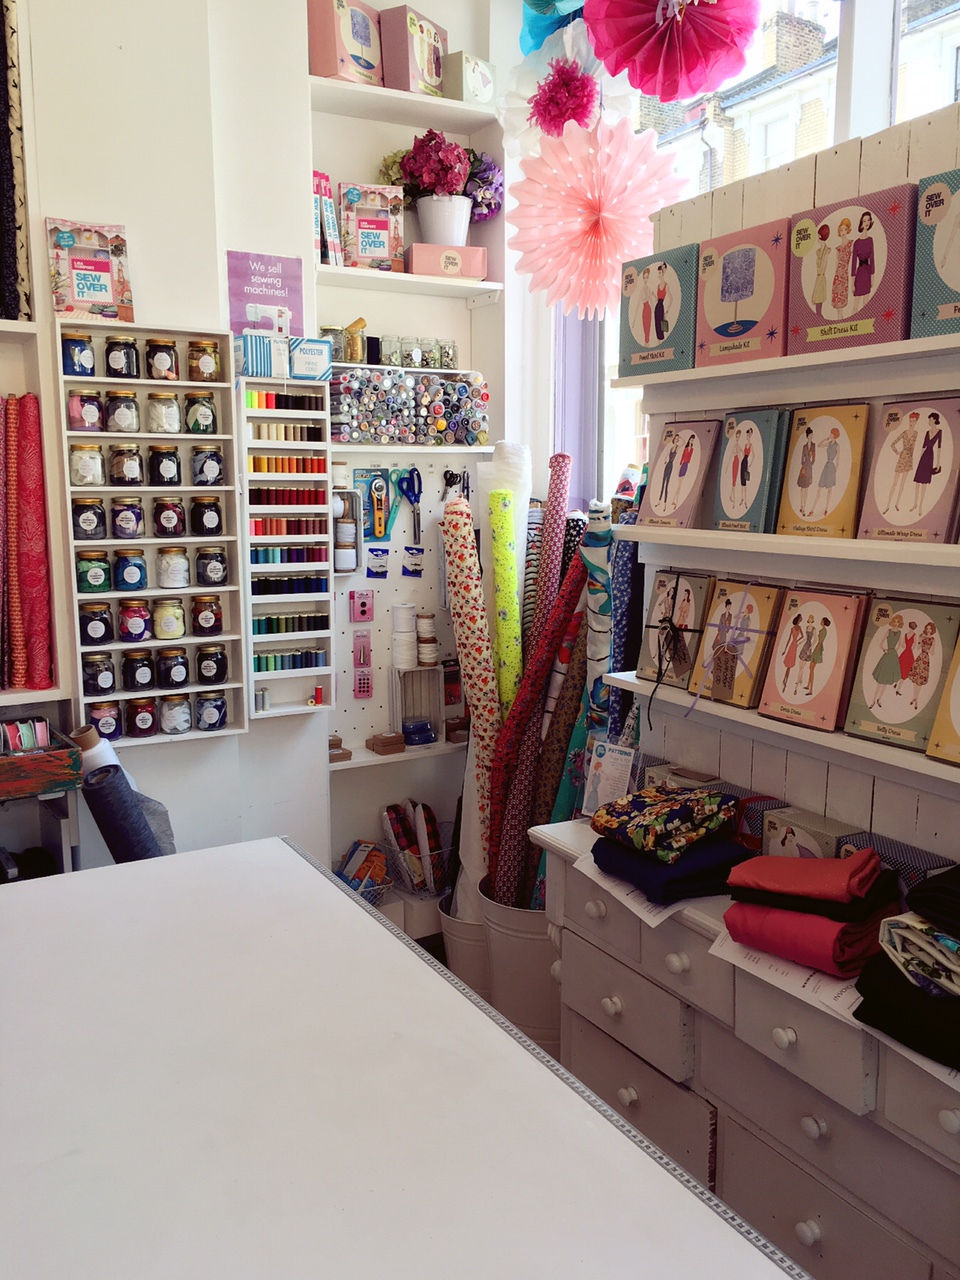
Other sewing materials (e.g. thread, patterns) on sale at the ground floor of the Clapham branch
The space was really welcoming, and that made the first time (in a long time) touching a sewing machine far less intimidating than it could have been!
The cushion cover was the first item I made as part of the Intro to Sewing class. I took this class as it was a pre-requisite for the dressmaking lessons I wanted to take. True to their word, the class was really easy (even for the few classmates who were completely new to sewing). The teacher, Dominique, was so patient and truly loved sewing / creating – it was a very pleasant weekend spent with her!

Honestly, the most difficult part of making the cushion was choosing the fabric…
I had a bit of a challenge deciding on what fabric to use because there were so many cute ones! And also because I’m really bad at making up my mind.
After the most difficult part was over, Dom went over the basics of sewing with us – going through things like selvedges (that’s the edge produced on woven fabric during manufacture that prevents it from unravelling), right / wrong sides, grainlines etc.
We were then given a pattern for the cushion – that’s a paper version of the pieces of fabric we need to cut out to make the cushion cover. Actually, cutting of the fabric is one of the most difficult / tedious parts of sewing. You must be thinking, “How hard can it get? Just put the paper pattern on top of the cloth and just cut isn’t it”. Nope.
One needs to first press the fabric to make sure there are no creases, lay the pattern on the fabric while making sure the fabric is falling nicely without waves (sometimes the fabric is “stretched” / “distorted”, and you literally need to “scratch” to make the fabric behave). And then you’ll need to pin the paper pattern onto the fabric, and then finally start cutting. Cutting the pattern for the cushion wasn’t too bad, as it was just bunch of rectangles. Dress patterns are another thing, but I’ll come to that in another post… Investing time to cut the fabric right makes the sewing much easier later on!

Digital Janome sewing machine – my first time using a digital sewing machine!
The sewing machine was quite easy to use! Just had to learn how to wind a bobbin (that’s the little cylinder of thread that goes into the “bottom” part of the machine), thread the machine, select the right stitch setting, and step on the pedal – voila! And we’re all set for Project Runway! Not. But at least good enough to sew a cushion cover 🙂

Completed cushions with our own self-covered buttons (the red with white polka dot ones)
The self covered buttons are really neat – it’s basically taking a piece of fabric (with some very basic hand sewing) to cover a metal piece, and pressing a back piece on.

Clockwise: back side of the top piece, back side of the back piece, front side of the top piece (where the fabric is supposed to cover). Image from eBay
Details of the workshop
Duration: This took ~3-4 hours of the full Intro to Sewing Class (2 x 7 hour session – 1 hour lunch break every day!) Price: GBP199 (~SGD360), and this included all the materials like fabric, buttons, zip (for another item we made), and coffee/tea/cakes. I used a 10% discount code when I signed up for their mailing list. They also have special discounts for classes of the month, so look out for those!
I also went on to make a tote bag and a zipped bag in this class, and I will share them in another post. After this, I went on to join two other classes – the Dressmaking Weekend where I made a full circle skirt and a shift dress, and also the Ultimate Pencil Skirt class. These were of increasing difficulty, and I will share what I made there in upcoming posts
Level of “fun”: 3/5
It was really enjoyable to figure out how to use a sewing machine again. Proper sewing takes a lot of patience, and one needs to be meticulous in order to make something of a good quality (nice straight stitches), vs just making something functional.
The level of “fun” will likely be higher for someone who is completely new to sewing. Nevertheless, I have come to discover that sewing is very therapeutic 🙂
Level of difficulty: 1/5
Dom was an excellent teacher, and picking up the basics to sew a cushion cover was honestly really easy. It’s just sewing many straight lines – everyone can do it! This is a great first project in the Intro to Sewing class to help you gain confidence in operating a sewing machine.


Comments